

A Hackerspace Webcam
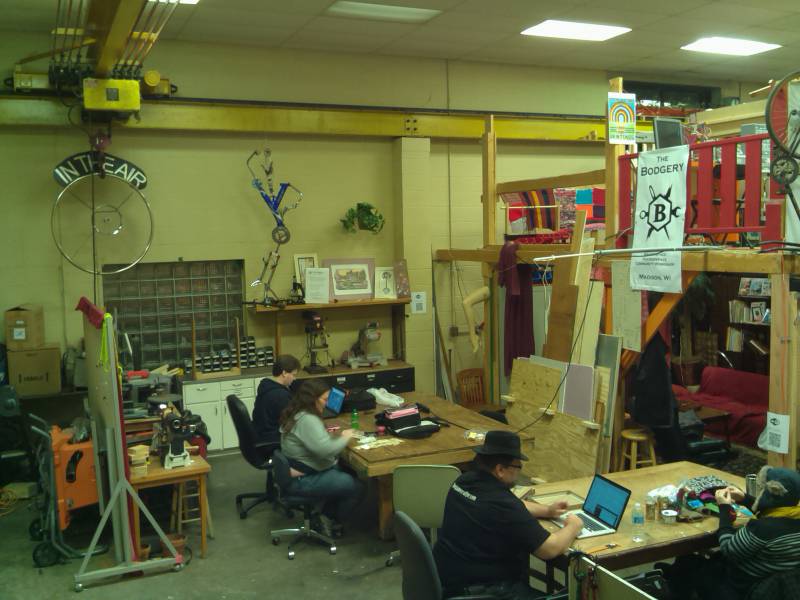
Nearly every hackerspace has some kind of live camera on their website, and every one of them solves it in their own way. If you want to visit the shop, it’s nice to know if someone else is hanging around. At The Bodgery, it was decided to base one on a Raspberry Pi that would upload a picture every 30 seconds whenever an open switch is set. When a member opens the space, the switch activates one of the Pi’s “General Purpose Input/Output” (GPIO) pins, which causes the Pi to start taking pictures. When shut off, a default picture is thrown up, declaring us closed.
The first task was to make a box. The Bodgery has a 50W laser cutter, so I started with a design created with MakerCase. After measuring the Pi and putting in the dimensions, MakerCase created a box with “finger joints” (tabs that fit the edges together). Using Inkscape and some more measuring, a hole was made in the front panel for the Pi’s camera. Unfortunately, I didn’t take into account the length of the Pi’s SD card on one side and the WiFi adaptor on the other, so my original design was a little short. No matter-the backend of the case could be left open for this project.
On the web server side, an account was created that had write access to a specific file. An ssh key was created and added to this account’s ~/.ssh/authroized_keys file.
Using Device::WebIO::RaspberryPi, you can query the status of GPIO pins, and also get a filehandle for reading the picture from the camera. The camera is implemented using “rpicamsrc”, a plugin for GStreamer that accesses the Raspberry Pi’s camera module directly - which is great, because my previous attempts at getting the data using GStreamer’s v4lsrc or other methods usually ended in frustration.
The basic boilerplate sets up pin 17 as input, and then sets the image width, height, and JPEG quality (between 0 and 100, higher is better quality, but larger file size).
my $rpi = Device::WebIO::RaspberryPi->new;
$rpi->set_as_input( 17 );
$rpi->img_set_width( 0, 800 );
$rpi->img_set_height( 0, 600 );
$rpi->img_set_quality( 0, 70 );
The next step is to have something that polls the input pin on a regular basis (once a second will do). There are many ways to do this, and I choose an AnyEvent timer.
my $condvar = AnyEvent->condvar;
my $input_timer; $input_timer = AnyEvent->timer(
    after    => 1,
    interval => 1,
    cb       => sub {
        $INPUT = $rpi->input_pin( 17 );
        $input_timer;
    },
);
This sets an global var $INPUT. That gets picked up by another timer, which takes the picture and uploads when $INPUT is set. In a more sophisticated program, I’d probably have this activate another timer directly for sending a picture. For such a simple program though, I’m not too worried about it.
The method img_stream() will return a filehandle for reading the image:
my $fh = $rpi->img_stream( 0, 'image/jpeg' );
The method takes a channel number for the camera (if you have one camera, you have one channel) and a desired MIME type. The img_allowed_content_types() method will return a list of supported MIME types. On Device::WebIO::RaspberryPi, only image/jpeg is currently supported.
Once you have the filehandle, use scp to upload it. A simple but crude method is to create a temporary file (with File::Temp) and then call scp as an external program:
use File::Temp 'tempdir';
my ($tmp_fh, $tmp_filename) = tempfile();

# Write to a temporary file
my $buffer = '';
while( read( $fh, $buffer, 4096 ) ) {
    print $tmp_fh $buffer;
}
close $tmp_fh;
close $fh;

# Upload to server using scp
my @scp_command = (
    'scp',
    '-i', PRIVATE_KEY_FILE,
    $tmp_filename,
    SERVER_USERNAME . '@' . SERVER_HOST . ':' . SERVER_UPLOAD_PATH,
);
say "Executing: @scp_command" if DEBUG;
(system( @scp_command ) == 0)
    or warn "Could not exec '@scp_command': $!\n";

# Delete temp file
unlink $tmp_filename;
Net::SCP is another way of going about this, although that just wraps the external command like is done above.
As an exercise to the reader, create a tmpfs (RAM disk) on your Raspberry Pi and have the temp file written there. 10MB should be enough. File::Temp::tempfile() can be passed a DIR parameter to write a file there. This avoids writing to the SD card, which is both slow and tends to wear it out prematurely.
The complete code is on GitHub.
This article was originally posted on PerlTricks.com.
Tags
Timm Murray
Timm Murray is a Perl programmer and hardware specialist. He is the creator of UAV::Pilot the de-facto standard Perl drone library. He regularly blogs about Perl and hardware hacking.
Browse their articles
Feedback
Something wrong with this article? Help us out by opening an issue or pull request on GitHub

