

Designing Board Games With Perl
Board games are hotter than they’ve ever been. In fact, the board game market has grown 25% in the past year while the video game market shrank 20%. But you’re a Perl hacker, not an Adobe Illustrator, so how can you design a board game? Well, that’s exactly what I aim to show you in this article.
First, you need an idea. You can turn literally anything into a game. Whether you just want to design your own custom playing cards, or you want to make a full on custom board or card game, the options are limitless. (Full disclosure: I’m one of the owners of The Game Crafter, which itself is written entirely in Perl. )
For the purposes of this article, I’m going to make a board game version of the popular Perl-based web game The Lacuna Expanse. (I’m also one of the owners of Lacuna.) I chose this because I already have some artwork for it, albeit not in board game form. However, you can get free art from various sites around the web.
My Lacuna-based board game will be a tile placement game where all the players work together cooperatively to fend off an alien invasion.
Let’s Get To The Perl Already!
There are several great image manipulation libraries on the CPAN, but my personal favorite is Image::Magick. I started by creating a base image which I could manipulate in any way that I wanted. (I based my choice off of The Game Crafter’s list of component sizes and prices.) I decided to use mini cards, because the table would fill up too quickly with full poker-sized cards; there’ll be a lot of cards on the table!
 my $card = Image::Magick->new(size=>'600x825');
 say $card->ReadImage('canvas:white');
Note that I used say in front of the ReadImage call. Image::Magick will emit a textual exception on each call if anything goes wrong. I could easily wrap that with better error handling, but for now printing to the screen is sufficient for my needs.
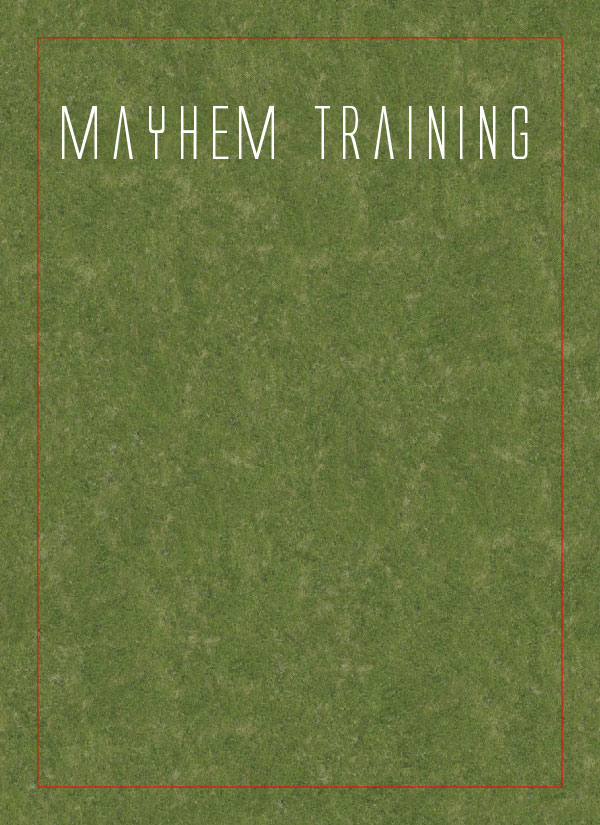
When printing things (really printing them, with ink and all) you also have to take into account something called bleed and cut lines. It’s easy to draw the cut line on the card in red as the boundary of the printable image content.
say $card->Draw(stroke=>'red', fill => 'none', strokewidth=>1, primitive=>'rectangle', points=>'38,38 562,787');
 So far so good. The next step is to give this card a background so that it starts to look like a card. For this I’ll take one of the planet surface images from the Lacuna Expanse and rotate it and stretch it to fit the shape of the card.
 my $surface = Image::Magick->new;
 say $surface->ReadImage('surface-p17.jpg');
 say $surface->Rotate(90);
 say $surface->Resize('600x825!');
 say $card->Composite(compose => 'over', image => $surface, x => 0, y => 0);
Note the exclamation point (!) on the Resize command. That tells Image::Magick to distort the native aspect ratio of the image. In other words, stretch the image to fill the size I’ve specified.
 You may have noticed that this image looks enormous. That’s because it’s for print (on paper!) rather than screens. Print has more pixels per inch/centimeter than screens, thus the image looks bigger when you display it on a screen.
Now the card needs a title. Adding text to the image is straightforward.
$card->Annotate(text => 'Mayhem Training', font => 'ALIEN5.ttf', y => -275, fill => 'white', pointsize => 70, gravity => 'Center');
 As you can see I’ve used a custom font.
 Image::Magick is capable of using nearly any OpenType or TrueType font.
With a background and a title, the next step is to overlay the card with a picture of the Mayhem Training building from the video game.
 my $image = Image::Magick->new;
 say $image->ReadImage('mayhemtraining9.png');
 say $card->Composite(compose => 'over', image => $image, x => 100, y => 165);
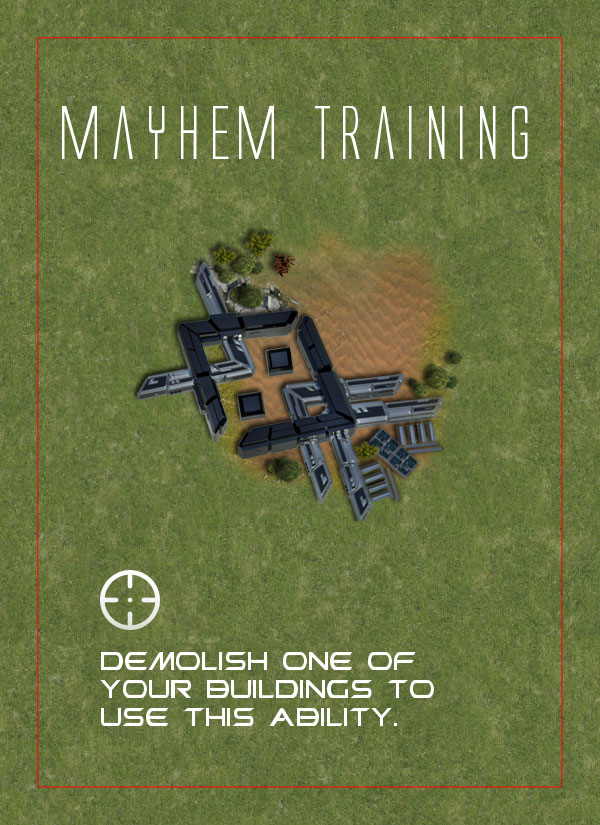
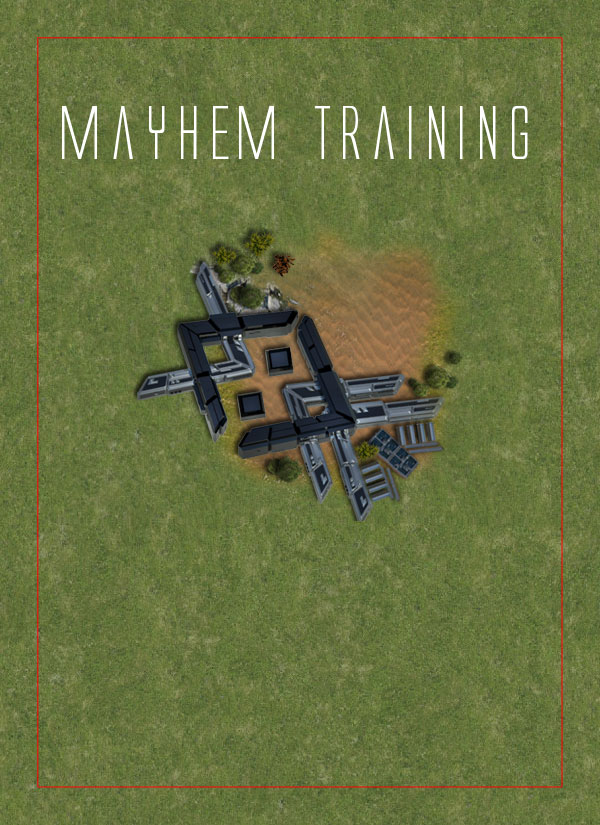 Now we’re finally getting somewhere! This is really starting to look like a card. Use the same technique to overlay an icon onto the card. As in so many games, these icons symbolize an ability that the card grants the player who uses it. You can get free icons from all over the web; one of my favorite libraries is Glyphish.
 my $icon = Image::Magick->new;
 say $icon->ReadImage('target.png');
 say $card->Composite(compose => 'over', image => $icon, x => 100, y => 570);
![]() You can’t get away with icons all the time; a little text will explain things to new players. Adding some explanation to the card would be really tricky, if it weren’t for some really neat code that Gabe Schaffer contributed to the ImageMagick forums a long time ago. Basically without this code you’d have to make the text wrap at word boundaries yourself, but with it, you can just do a simple
You can’t get away with icons all the time; a little text will explain things to new players. Adding some explanation to the card would be really tricky, if it weren’t for some really neat code that Gabe Schaffer contributed to the ImageMagick forums a long time ago. Basically without this code you’d have to make the text wrap at word boundaries yourself, but with it, you can just do a simple Annotate call like this:
 $card->Set(font => 'promethean.ttf', pointsize => 35);
 my $text = 'Demolish one of your buildings to use this ability.';
 my $text_wrapped = wrap($text, $card, 400);
 say $card->Annotate(text => $text_wrapped, x => 100, y => 690, font => 'promethean.ttf', fill => 'white', pointsize => 35);
 A game like this wouldn’t be very interesting if you could place any card anywhere you want. To solve this, I want to to add something to the card to indicate how other cards can connect to it. This is the most challenging part yet, because I want to make a half-circle/half-rectangle connector. Because this is a bit more complicated and I want to use it for drawing connection points on various sides of the card, I’ll turn it into a subroutine.
 sub draw_connection_point {
   my ($card, $color, $rotation, $x, $y) = @_;

   # draw a half circle, it's a half cuz we're drawing outide the image
   my $half_circle  = Image::Magick->new(size=>'70x35');
   say $half_circle->ReadImage('canvas:transparent');
   say $half_circle->Draw(stroke => $color, fill => $color, strokewidth=>1, primitive=>'circle', points=>'35,35, 35,70');

   # create the connection point image
   my $connection = Image::Magick->new(size=>'70x85');
   say $connection->ReadImage('canvas:transparent');

   # add the half circle to the connection point
   say $connection->Composite(compose => 'over', image => $half_circle, x => 0, y => 0);

   # extend the connection point the the edge
   say $connection->Draw(stroke=>$color, fill => $color, strokewidth=>1, primitive=>'rectangle', points=>'0,35 70,85');

   # orient the connection point for its position
   say $connection->Rotate($rotation);

   # apply the connection point to the image
   say $card->Composite(compose => 'over', image => $connection, x => $x, y => $y);
 }

 draw_connection_point($card, 'purple', 0, 265, 740);
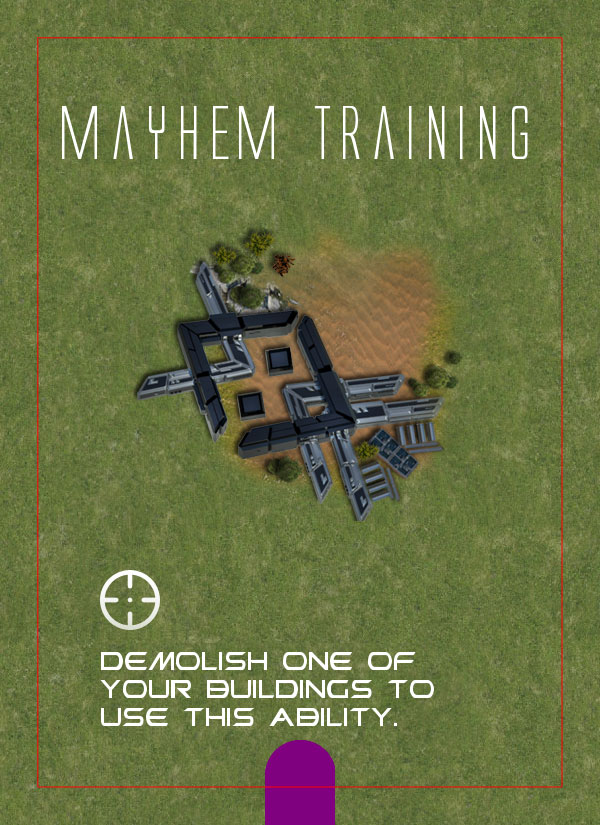 Sometimes it’s nice to give players hints about stuff so they can form better strategies. To that end, I added a series of pips above the title to indicate how many copies of this card are in the deck. In this case, this card is unique.
 my $quantity = 1;
 my $pips = '.' x $quantity;
 say $card->Annotate(text => $pips, y => -340, fill => 'white', pointsize => 70, gravity => 'Center');
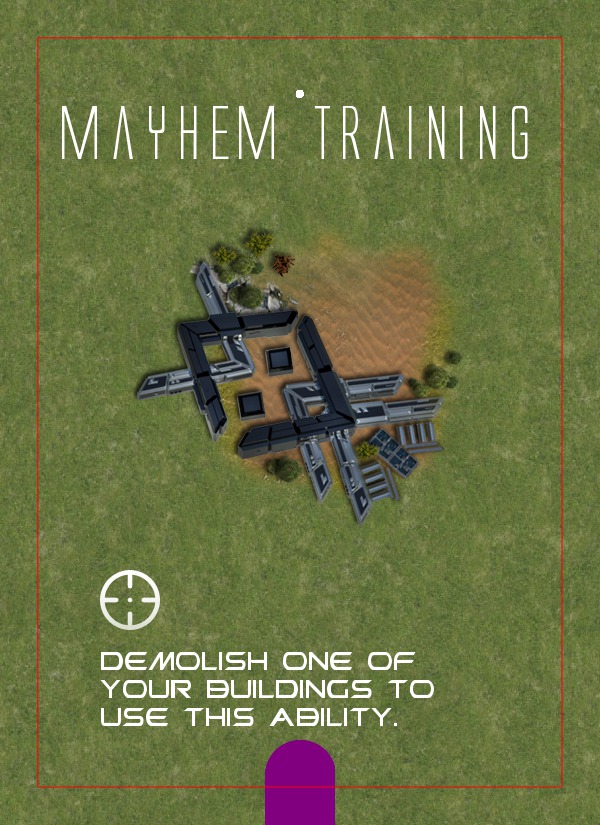 Remember to remove the cut line before you save the file.
 #say $card->Draw(stroke=>'red', fill => 'none', strokewidth=>1, primitive=>'rectangle', points=>'38,38 562,787');
 say $card->Write('mayhem.png');
 Rationale
Now that I’ve shown you how to create a card, you may have one question. Why would you go through the work of coding it rather than just using Photoshop or the Gimp? There are lots of reasons to code it including things like you don’t know how to use image editors. However the really important reason is the same reason you write code to do anything… automation! A game isn’t made of just one card. Likewise, games aren’t designed in just one try. It takes lots of play testing and revisions. If you design your board game using code you can whip out a new revision as easily as changing a config file.
Of course, automatic image generation isn’t only for games….
Next Time
I’ve shown you how to create the images for a game. If you’re like me, the next thing you want to do is print your game. You could do this at home, but it will cost you a lot of time and money (ink jet ink costs more than human blood). You could take it to Kinkos, but you won’t get a nice quality product because they don’t specialize in making games. Instead, you can upload your files to The Game Crafter, where you’ll get a custom game that looks like it game from the game store. There’s a nice easy to use web interface to do this, but you’re a Perl programmer. Why do something manually if you can automate it?
Besides that, it’s a real-world example of interacting with a web service written completely in Perl—on both sides. Who wouldn’t be interested in that?
For The Impatient
The Lacuna Expanse Board Game is available for purchase now if you’re interested. Also, I’ve released the code I wrote to develop it via this public GitHub repository.
Tags
Feedback
Something wrong with this article? Help us out by opening an issue or pull request on GitHub

